To storyboard a video, you’re basically creating a comic book version of your script. It’s a shot-by-shot visual outline that maps out everything from camera angles and character movements to the overall flow of the scene. This is the crucial step that translates your words into a clear visual blueprint, making sure everyone on your team is on the same page before you even think about hitting record.
Why a Storyboard Is Your Secret Weapon in Video Production
Long before a single frame gets filmed, the fate of your video is often decided in pre-production. A storyboard is so much more than a few rough sketches; it’s the architectural plan for your entire project. It forces you to nail down the critical visual decisions early on, saving you from costly reshoots and creative dead-ends down the road.
Think of it as a dress rehearsal on paper. By mapping out each scene, you can spot potential pacing problems, awkward transitions, or gaps in the story way before they become expensive headaches on set. It’s a visual roadmap that gets every single person, from the director to the editor, perfectly aligned.
The Power of Visual Alignment
When everyone is working from the same visual playbook, the entire production process runs smoother. Instead of relying on vague descriptions, your team gets a concrete guide for what each shot needs to look like and accomplish. This kind of clarity isn’t just a nice-to-have; it’s a non-negotiable part of professional filmmaking.
In the United States, 42.3% of filmmakers regularly use storyboards during the development phase. It’s a testament to how vital they are. Among those filmmakers, over 30% say the biggest benefit is the enhanced clarity it brings to their vision, which dramatically streamlines production. You can dig into more storyboarding statistics to see how the industry relies on them.
A storyboard doesn’t just show you what your video will look like; it shows you if your story works. It’s the cheapest, fastest way to fail—and then fix it.
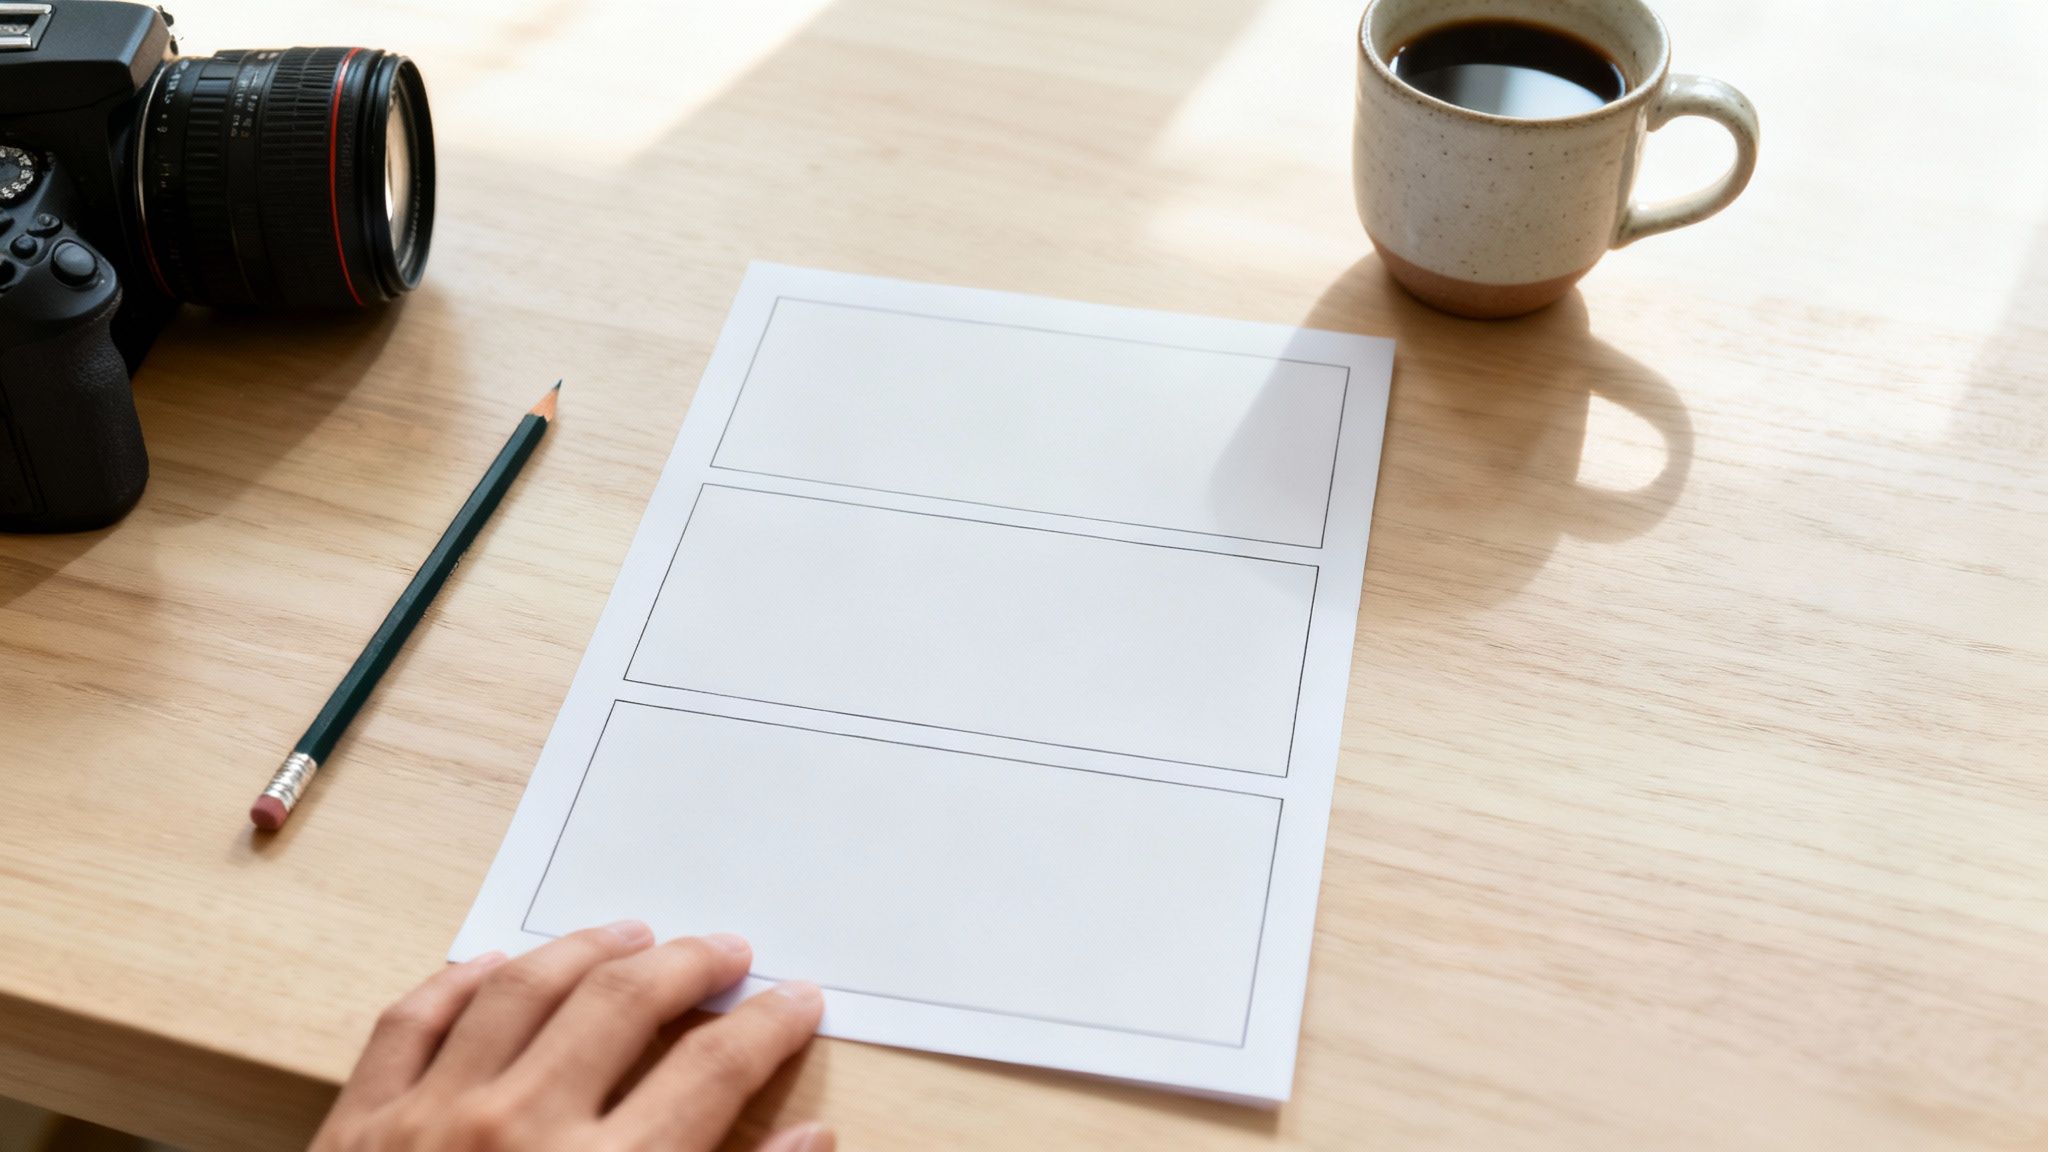
Core Elements of a Video Storyboard
Every storyboard panel, whether it’s a simple stick-figure sketch or a detailed drawing, needs to contain key information to guide the production team. Getting these components right is essential if you want your storyboard to be genuinely useful.
Here’s a quick reference table breaking down what every storyboard panel should include.
| Element | Purpose |
|---|---|
| Panel or Frame | This is the box that holds the visual sketch for each shot. |
| Shot Description | A short explanation of the action, dialogue, or key moments happening in the frame. |
| Camera Notes | Instructions on camera angles (e.g., high-angle), shot types (e.g., close-up), and movement (e.g., pan left). |
| Sound/FX Cues | Any notes on music, sound effects, or voiceovers that go with the visuals. |
Think of these elements as the essential DNA of your video plan. With them, each panel tells a complete story.
Ultimately, a well-crafted storyboard is your secret weapon. It transforms a potentially chaotic shoot into a smooth, deliberate process, saving you a ton of time, money, and creative frustration. It’s the foundational step that turns a good idea into a polished, impactful video.
Building Your Narrative Foundation Before You Draw
Every great video starts with a story, not a sketch. Before you even think about camera angles or fancy visuals, you need to nail down your video’s core message and map out a simple narrative. This is the blueprint that gives your storyboard purpose.
Ask yourself this one critical question: What is the single most important thing I want my audience to think, feel, or do after watching? That answer is your North Star. It guides every decision you make, from the opening shot to the final call-to-action.
Crafting a Simple Narrative Arc
You don’t need a Hollywood blockbuster plot. The most effective short videos follow a classic three-act structure. It’s simple to outline and incredibly powerful at taking your viewer on a satisfying journey.
- The Beginning (The Hook): This is where you introduce the problem or grab the viewer’s attention. You’ve got about 3-5 seconds to make them care.
- The Middle (The Journey): Here’s where you show the solution, the transformation, or the main event. This is the meat of your message.
- The End (The Resolution): Wrap it up with a clear takeaway or a call-to-action. What’s the last thing you want them to remember?
Think of a 30-second ad for a new coffee maker. The beginning shows someone fumbling with their slow, messy machine. The middle reveals the new product’s slick design and speedy brew time. The end shows them smiling, sipping a perfect cup, with a clear “Shop Now” button on screen. Simple, effective, and easy to follow.
From Idea to Actionable Script
Once your narrative is mapped out, it’s time to build a script or a detailed shot list. This document is the bridge between your big idea and the actual visuals. It doesn’t have to be a masterpiece of screenwriting; it just needs to turn your story into a sequence of concrete actions.
Your script isn’t just dialogue. It’s a log of every action, sound effect, and piece of on-screen text. Getting this detail down on paper makes the storyboarding process a thousand times smoother.
To really get your narrative foundation set quickly, tools that streamline the writing process can be a huge help. For instance, using dictation software for writers lets you get your ideas out in a natural, conversational flow without getting stuck on typing. You can just talk through the scenes, describing the action and dialogue as it comes to you. With that foundational text complete, you’ll have a clear, scene-by-scene guide that’s ready to be brought to life in your storyboard panels.
Bringing Your Script to Life, Shot by Shot
Alright, this is where the magic happens. Your script and abstract ideas are about to get real, taking their first steps into the visual world. The main goal here is to break down your written story into individual panels, telling the story one shot at a time.
Don’t sweat it if you can’t draw. Seriously. The point is clarity, not artistic perfection.
Stick figures and basic shapes are your best friends. If your sketch can show who’s in the shot, what they’re up to, and roughly where the camera is pointed, you’ve nailed it.
Everything hinges on a solid script. If you find yourself struggling to sketch a scene because it feels muddy or unclear, that’s often a sign your script needs another look. To really tighten things up, check out our deep dive on how to write an explainer video script: https://wideo.co/blog/how-to-write-an-explainer-video-script/
Mapping Out Your Shots and Framing
Before you even pick up a pencil, start thinking like a director. How many shots will it take to tell this story well? A good rule of thumb is to create a new panel for every major action, every time the camera angle shifts, or for each new line of dialogue.
For a quick 30-second product demo, you might only need 10-15 panels. But for a 3-minute explainer, you could easily be looking at 30 or more. These principles are vital whether you’re storyboarding a full-length feature or just crafting an engaging video intro.
Once you have a rough shot count, think about what goes inside each frame. A few simple composition tricks can guide the viewer’s eye:
- The Rule of Thirds: Picture a tic-tac-toe grid over your panel. Placing important elements along those lines or where they cross makes the shot feel more balanced and natural.
- Leading Lines: Use lines that already exist in the scene—like a road, a fence, or the edge of a table—to point the viewer’s eye toward your subject.
- Headroom: Always leave a little bit of space above a character’s head. Too little, and the shot feels cramped; too much, and they look lost in the frame.
The best storyboards use incredibly simple drawings to solve complex directorial problems. This is your free pass to experiment with composition and pacing without wasting a single second (or dollar) in production.
Thinking Like a Director
The camera is your audience’s eyeball. Where you place it has a massive impact on how they feel. Each storyboard panel is a chance to make a deliberate choice about the viewer’s emotional journey at that exact moment.
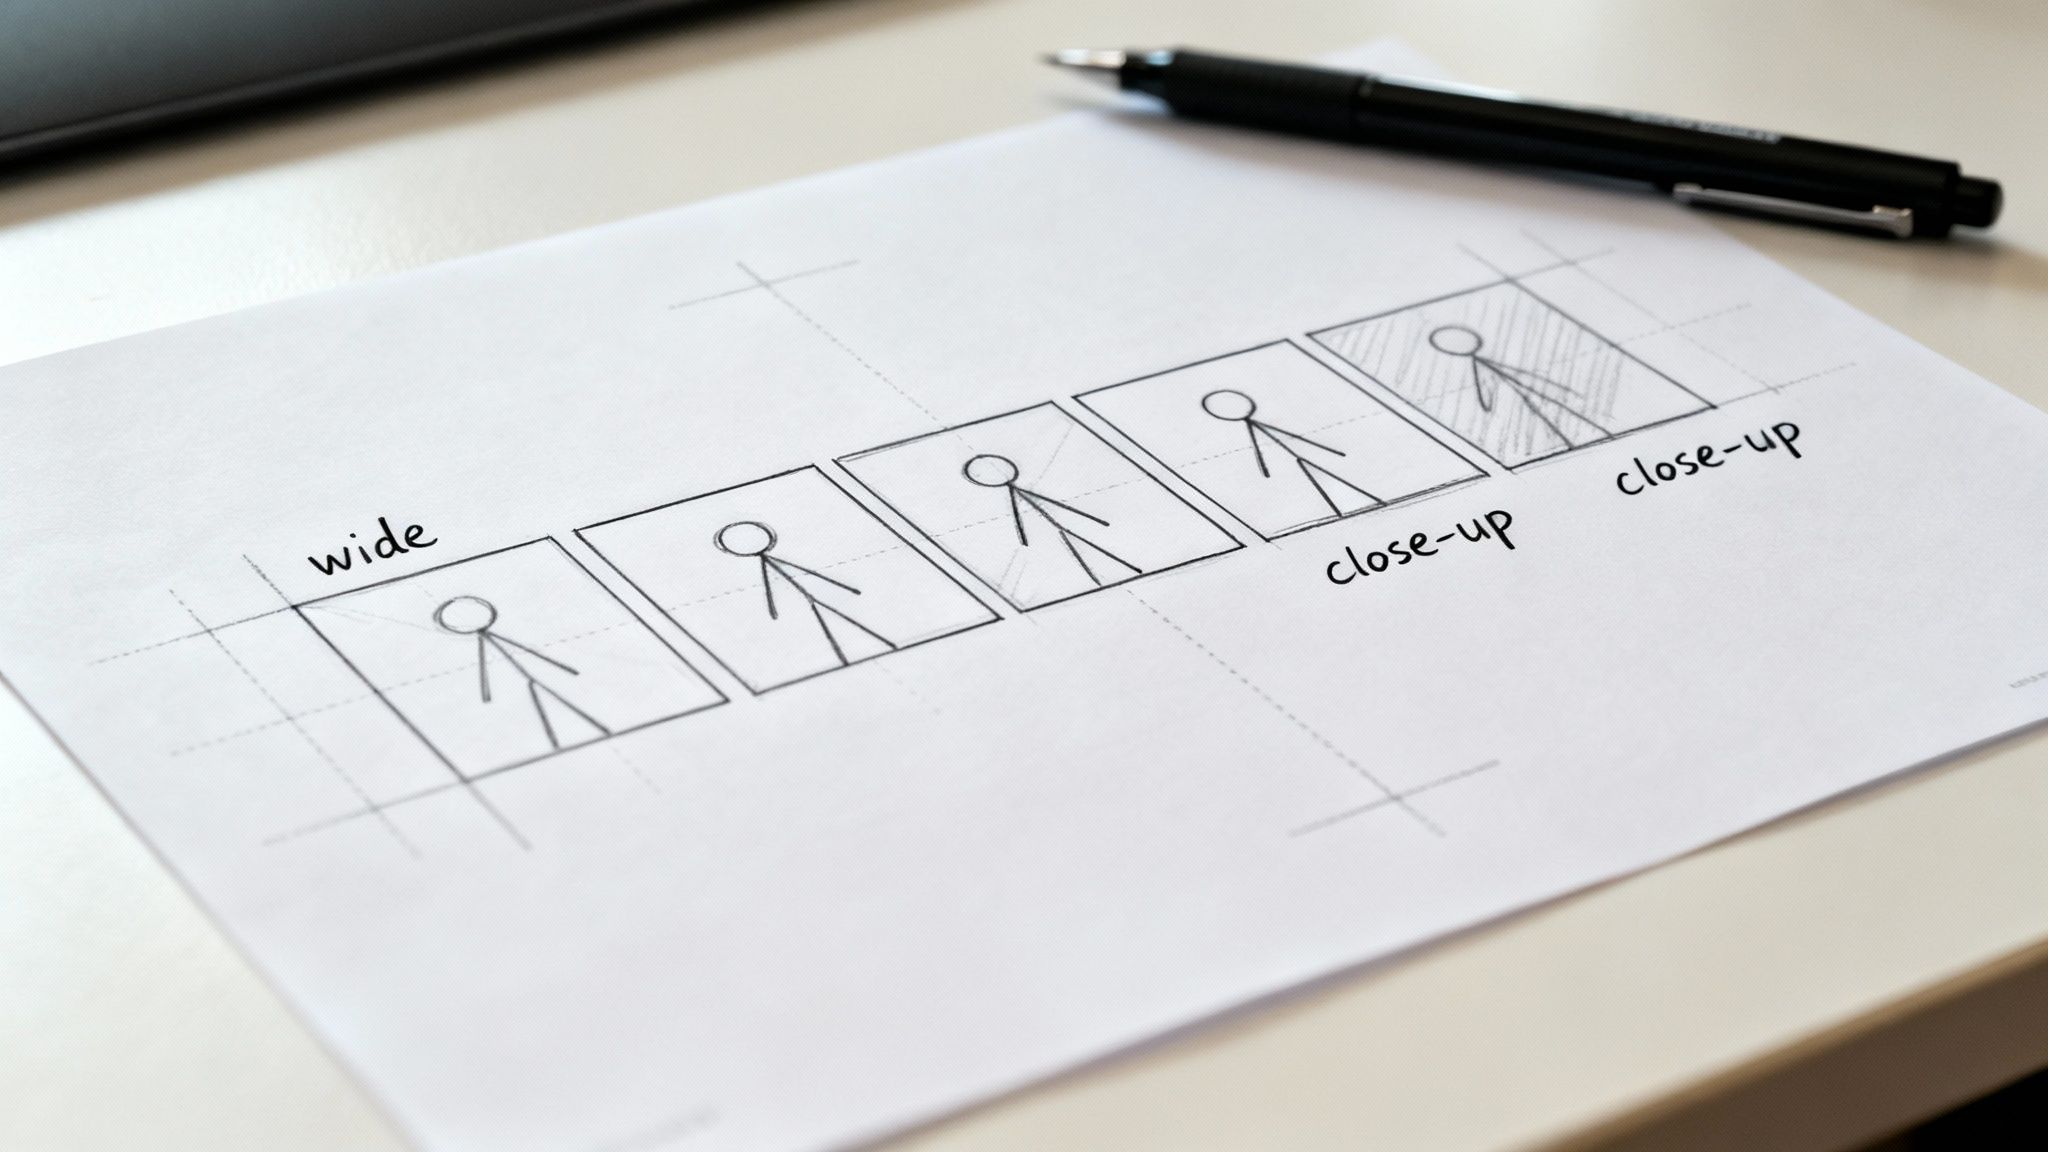
Let’s break down the basic shot types and what they say:
- Wide Shot (WS): Establishes the setting. It’s the “you are here” shot that shows characters in their environment. Perfect for opening a scene in a new location.
- Medium Shot (MS): Usually frames a character from the waist up. This is your go-to for conversations, as it captures body language without being too distant.
- Close-Up (CU): Fills the screen with a single detail, like a character’s face or a crucial object. Use it to dial up the emotion or emphasize something important.
Beyond the distance, think about the angle. A low-angle shot (looking up) makes a subject feel powerful or intimidating. A high-angle shot (looking down) can make them seem small and vulnerable. An eye-level shot is neutral, creating a direct and relatable connection with the viewer.
Adding these little notes—shot type, camera angle, and a quick description of the action—to every panel is what turns a bunch of sketches into a genuine blueprint for production.
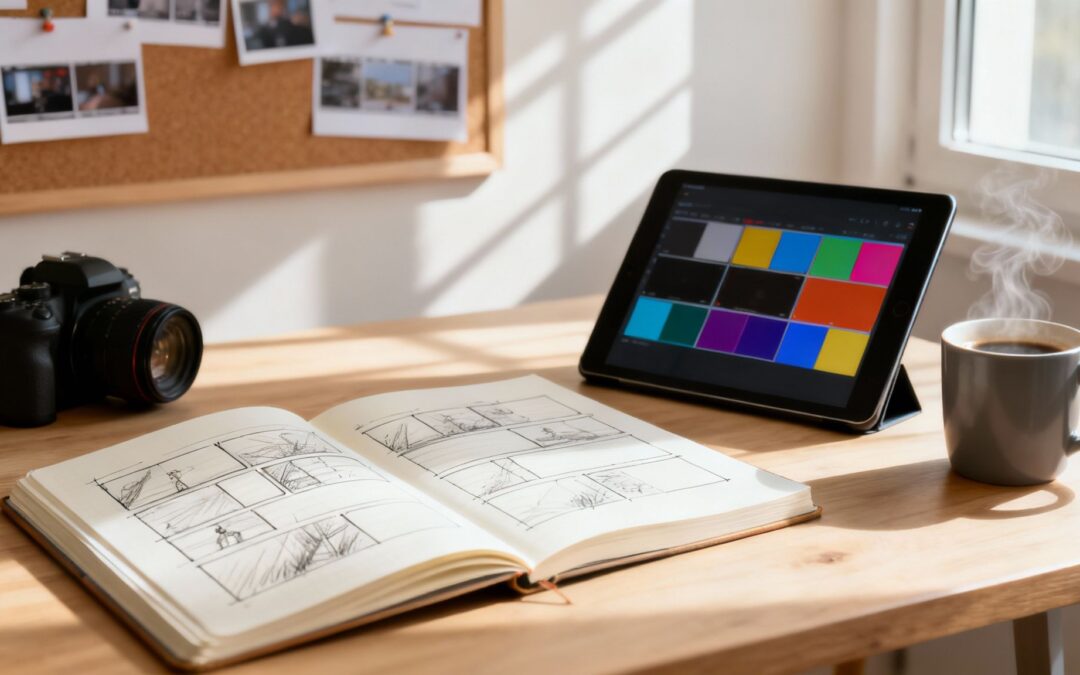
Choosing Your Storyboarding Tools: Digital or Traditional?
Alright, you’ve got your scenes and shots all mapped out. Now for the fun part: deciding how you’re going to bring those panels to life. You’re standing at a fork in the road. One path leads to the classic, tactile world of pencil and paper. The other takes you down the flexible, modern route of digital software.
Let me be clear: there’s no single “right” answer here. The best choice really boils down to your project’s scale, your budget, how comfortable you are with tech, and whether you’re working with a team scattered across different locations.
Let’s unpack both options.
The Case for Traditional Storyboarding
There’s a certain magic to going analog with a pencil and a printed template. You get an immediacy and freedom that just doesn’t exist when you’re clicking around a software interface. For a lot of creators I know, this direct connection helps ideas flow more naturally.
This method is perfect for those initial, messy brainstorming sessions or solo projects. It’s also great if you’re one of those people who simply thinks better with a pen in hand. It’s accessible, costs next to nothing, and forces you to focus on the absolute essentials of visual storytelling—composition, action, and flow.
The greatest strength of pen-and-paper storyboarding is its simplicity. It removes all technical barriers, letting you translate the vision in your head directly onto the page with zero friction.
The Rise of Digital Storyboarding Tools
On the flip side, digital tools bring a level of efficiency and collaborative power that paper just can’t touch. Need to make a revision? It’s as simple as hitting “undo” or dragging an element, instead of painstakingly redrawing an entire panel from scratch.
This flexibility is a massive advantage, especially on complex projects where feedback and changes are a constant reality. Many tools even come with pre-built assets, character models, and props, which can be a lifesaver if you don’t consider yourself a confident artist. Plus, the ability to share a single link with your team for real-time feedback just makes the whole pre-production workflow smoother.
The market definitely reflects this shift. The global storyboarding software market hit a valuation of about $1.97 billion in 2024 and is projected to climb to $2.15 billion by 2025. It’s all driven by the growing need for efficient, collaborative tools in video production. If you’re curious, you can find more insights on the storyboarding software market’s growth here.
For anyone ready to dip their toes into the digital world, an online storyboard creator is an excellent starting point. These platforms combine the ease of digital tools with features designed specifically for video planning.
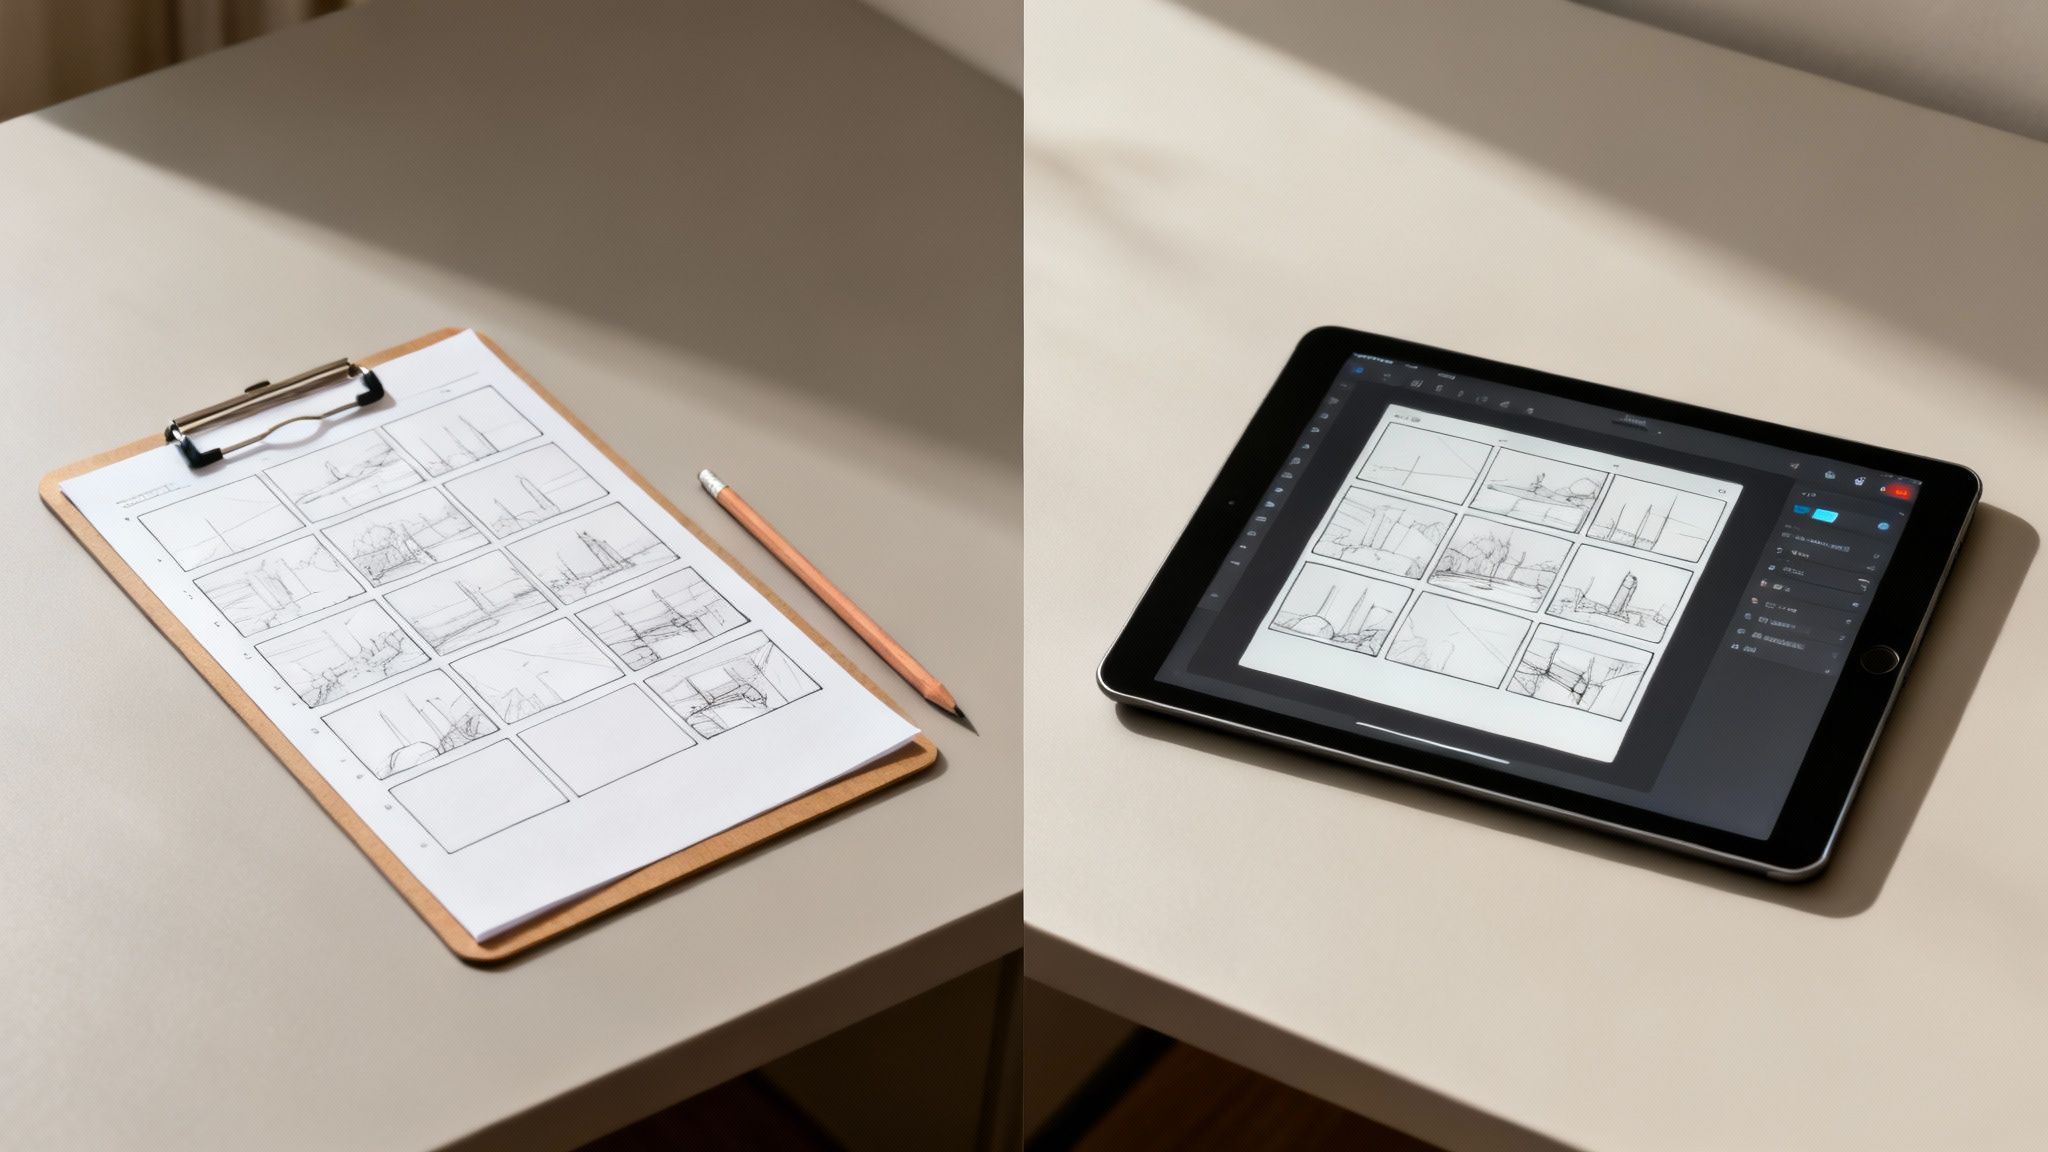
Digital vs. Traditional Storyboarding Comparison
To help you decide, here’s a side-by-side look at how these two methods stack up. Use this table to figure out which approach best fits your project’s needs and your personal workflow.
| Feature | Digital Tools (e.g., Boords, Storyboarder) | Traditional Method (Pen & Paper) |
|---|---|---|
| Speed & Revisions | Fast and easy to revise; drag-and-drop elements and “undo” functionality save tons of time. | Slower to create and much harder to revise; changes often require redrawing entire panels. |
| Collaboration | Excellent for remote teams. Shareable links and real-time comments make feedback seamless. | Difficult for remote collaboration. Requires scanning, emailing, or physical meetings. |
| Artistic Skill | Low barrier to entry. Many tools have pre-made assets, characters, and props. | Requires at least basic drawing skills to convey ideas clearly. |
| Cost | Can involve subscription fees or one-time software costs, though free options exist. | Virtually free. All you need is paper, a pen, and maybe a printer for templates. |
| Accessibility | Requires a computer or tablet and an internet connection. Can have a learning curve. | Highly accessible. Can be done anywhere, anytime, with no tech required. |
| Final Output | Clean, professional-looking panels that are easy to integrate into presentations. | Has a raw, organic feel. May need to be digitized for sharing or presentation purposes. |
Ultimately, your choice should empower your creative process, not get in the way of it. If you’re still on the fence, try both methods on a small personal project. See which one feels more intuitive and helps you get your ideas down faster.
How AI Is Shaping the Future of Storyboarding

The world of video production moves fast, and the art of storyboarding is right there with it. Artificial Intelligence isn’t some far-off concept anymore; it’s become a legitimate creative partner, completely changing how we plan and visualize projects from the ground up.
Instead of staring at a blank canvas, creators can now lean on AI-powered tools to spin up visual concepts in a flash. Just type in a simple text prompt—like “a wide shot of a lone astronaut on a red desert planet at sunset”—and these platforms can churn out multiple visual takes in seconds. It’s an absolute game-changer for breaking through creative blocks and experimenting with different styles on the fly.
A New Era of Visual Brainstorming
Think of AI as an accelerator for your creativity, not a replacement. It lets you rapidly test out ideas that would have otherwise taken hours of sketching. This frees you up to focus on what really matters: honing the narrative, nailing the pacing, and dialing in the emotional arc of your story.
This shift is way more than just a trend; it’s a booming market. The storyboard generation AI market was valued at $1.14 billion in 2024 and is on track to hit a staggering $9.46 billion by 2033. That’s an incredible annual growth rate of 23.7%. You can dig into more data on AI’s impact to see just how quickly this space is evolving.
AI in storyboarding isn’t about automating creativity; it’s about augmenting it. It handles the tedious parts of visualization, giving you more time and mental space to be the storyteller.
The chart below really drives home the massive growth we’re seeing in the storyboard generation AI market.
That steep upward curve isn’t just a projection; it signals a huge, industry-wide shift toward adopting these powerful new tools.
Beyond Static Images
But AI’s influence doesn’t stop at single frames. More advanced platforms are now helping creators put together animatics—basically, animated storyboards with rough timing and sound—to get a much better feel for a video’s rhythm and flow. This gives you a clearer preview of the final cut than static panels ever could.
These tools bring some serious advantages to the table:
- Speed: You can generate dozens of visual concepts in the time it used to take to sketch just one.
- Variety: Instantly explore a whole spectrum of visual styles, from photorealistic to cartoonish, with simple text commands.
- Accessibility: It lowers the barrier to entry for creators who might not be pro illustrators but still have a strong vision.
As this tech gets even better, it’s going to become a core part of the video production pipeline. Many creators are already using an AI video generator to turn their scripts and storyboards directly into polished, finished videos. That seamless flow from concept to completion is a massive leap forward, making video creation faster and more accessible for everyone.
Common Storyboarding Questions Answered
Diving into storyboarding for the first time can feel a little intimidating. It’s totally normal to have questions about whether you’re getting it “right.” Let’s clear up some of the most common sticking points so you can move forward with confidence.
Think of this as your quick-start FAQ for creating a storyboard that actually works.
Do I Need to Be a Good Artist?
This is the big one, and I get it. The good news? The answer is a hard no.
A storyboard is a communication tool, not a piece for an art gallery. Its only job is to get an idea from your head into a format your team can understand. Clarity is the goal, not a masterpiece.
Stick figures, simple shapes, and clear labels are your best friends here. As long as your sketches show the camera angle, where people are, and what they’re doing, your storyboard is doing its job. Honestly, many professional storyboards are surprisingly simple.
How Many Panels Should My Storyboard Have?
There’s no magic number. The right count really depends on how long and complex your video is. If you use too few panels, you risk leaving your production team guessing. Go overboard with too many, and you can overcomplicate a simple idea.
A good rule of thumb is to create a new panel for every significant change. Think new camera angle, a key character action, or a jump to a different scene.
Just to give you a feel for it:
- A punchy 30-second social media ad might only need 10-15 panels.
- A more detailed 5-minute explainer video could easily require 50 or more.
My advice? Start by boarding out the most important moments first—the hook, the main point, and your call to action. Then, you can go back and sketch the transitional shots that connect those key beats.
What Information Must Be in Each Panel?
The drawing is just half the story. To make a panel truly useful, it needs some context. Think of it as a mini-blueprint for a single shot.
Besides the sketch, every panel should include these key details:
- Shot Number: This keeps everything organized. It makes it super easy to refer to “Shot 5” in a meeting instead of “that one shot where the person is walking.”
- Action Description: A short, clear sentence about what’s happening. What is the character doing? What are they saying?
- Camera and Sound Notes: This is where you put critical instructions for the crew. Things like “pan left to follow the character” or “zoom in on the product.” You can also note important sound effects or music cues that sync up with the action.
This extra bit of text is what turns a simple drawing into an actionable plan.
Can I Storyboard After I Start Filming?
Technically, yes, you can. But it completely defeats the purpose. The real power of a storyboard is in the pre-planning. It’s your chance to spot problems, organize your shot list, and make sure the final video feels cohesive—all before you spend a dime on production.
Storyboarding beforehand saves you from expensive reshoots and logistical nightmares on set. If you’ve already started shooting, you could create a “reverse storyboard” to help organize your footage for the edit, but the true value is in using it as a planning tool from the very beginning.
Ready to bring your storyboard to life? With Wideo, you can turn your plan into a professional animated video or presentation in minutes. Our platform is built to be user-friendly, with plenty of customizable templates that make it easy for anyone to create high-impact video content. Explore what you can create at https://wideo.co.