Learning how to make an animation all starts with one great idea. The whole journey really breaks down into a few core stages: nailing down your concept, sketching out a visual plan (your storyboard), picking your tools, animating the scenes, adding sound, and finally, exporting the video. Think of it as a clear path from a spark of imagination to a polished, shareable final product.
Developing an Idea Worth Animating
Every great animation I’ve ever seen started long before anyone opened up software. It began with a rock-solid concept. You absolutely need a blueprint before you touch a timeline or choose a character. This is the foundation that gives all the technical work meaning and, trust me, it saves a ton of headaches later on.
First things first, what’s the point of your animation? Are you trying to break down a complex service, tell a quick brand story, or just create a fun, eye-catching clip for social media? Your goal sets the tone for everything that comes next, from the script to the visual style. An explainer video for a new fintech app is going to have a completely different vibe than a quirky ad for a local coffee shop.
From Vague Concept to Actionable Plan
Once you know your “why,” you can start translating that into a simple script. This doesn’t need to be a masterpiece screenplay. A simple outline of your key messages and the main actions will do the trick. A good script just makes sure your story flows logically from one scene to the next.
With a script in hand, it’s time to create a storyboard. This is basically a comic book version of your video, a sequence of simple drawings that map out every single scene. It’s where you’ll figure out camera angles, character movements, and the overall flow before you commit to the time-consuming work of animating.
A solid storyboard is your best defense against production nightmares. You can use a dedicated storyboard creator to build this visual roadmap and really streamline this crucial planning phase.
This kind of visual planning is vital, especially in an industry that has seen insane growth. The global animation market was valued at around $371.85 billion and is on track to hit $400 billion, which just shows how massive its role is in advertising, education, and entertainment today.
Key Takeaway: A well-defined concept, script, and storyboard aren’t just suggestions; they are the absolute blueprint for a successful animation. Rushing this stage almost always leads to a confusing video and a frustrating workflow.
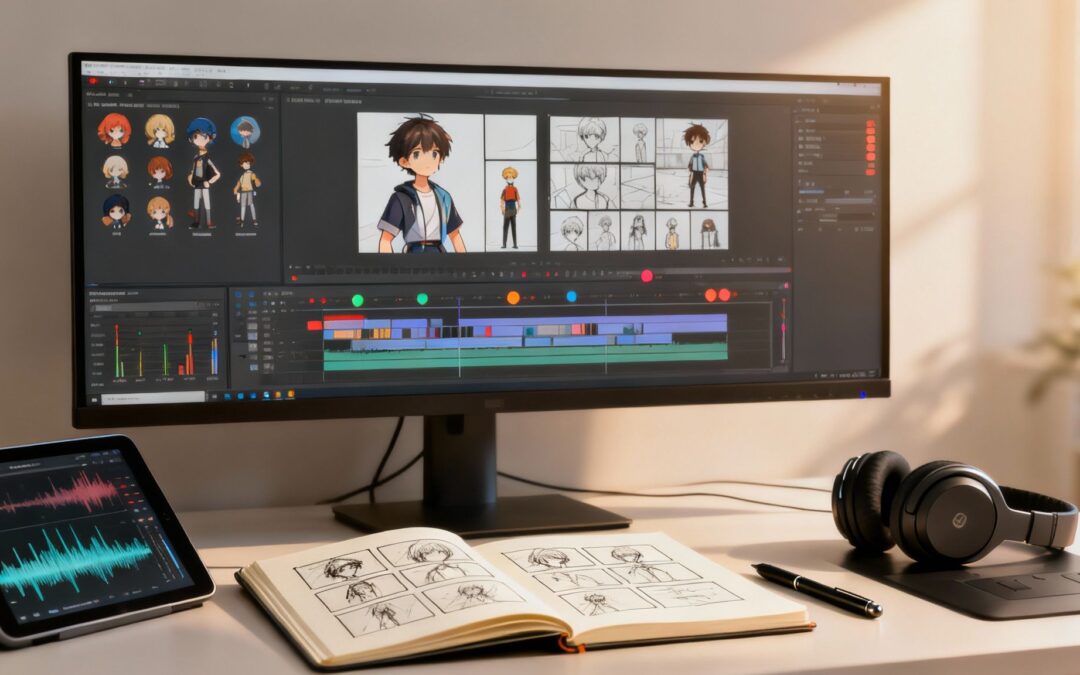
To give you a better idea, here’s what a storyboard looks like in action, setting the stage for the animation itself.

As you can see, this simple visual sequence gives the animator a clear guide for where assets go and what needs to happen, making the actual animation work so much more efficient.
To wrap up this initial phase, let’s look at the entire workflow at a high level. This table breaks down the essential stages that take an idea from a simple thought to a finished animation.
Core Animation Workflow at a Glance
| Stage | Key Activity | Goal |
|---|---|---|
| Concept & Scripting | Defining the core message and writing the narrative. | Establish a clear purpose and story for the animation. |
| Storyboarding | Creating a visual sequence of scenes. | Visualize the flow and composition before animation begins. |
| Asset Creation | Designing characters, backgrounds, and props. | Develop all the visual elements needed for the scenes. |
| Animation | Bringing the assets to life with movement and timing. | Create fluid, believable motion that tells the story. |
| Audio & Sound Design | Adding voiceovers, music, and sound effects. | Enhance the emotional impact and clarity of the animation. |
| Export & Delivery | Rendering the final video in the required format. | Produce a high-quality, shareable file for distribution. |
Having this structure in mind from the beginning helps keep the project on track and ensures no critical steps are missed along the way.
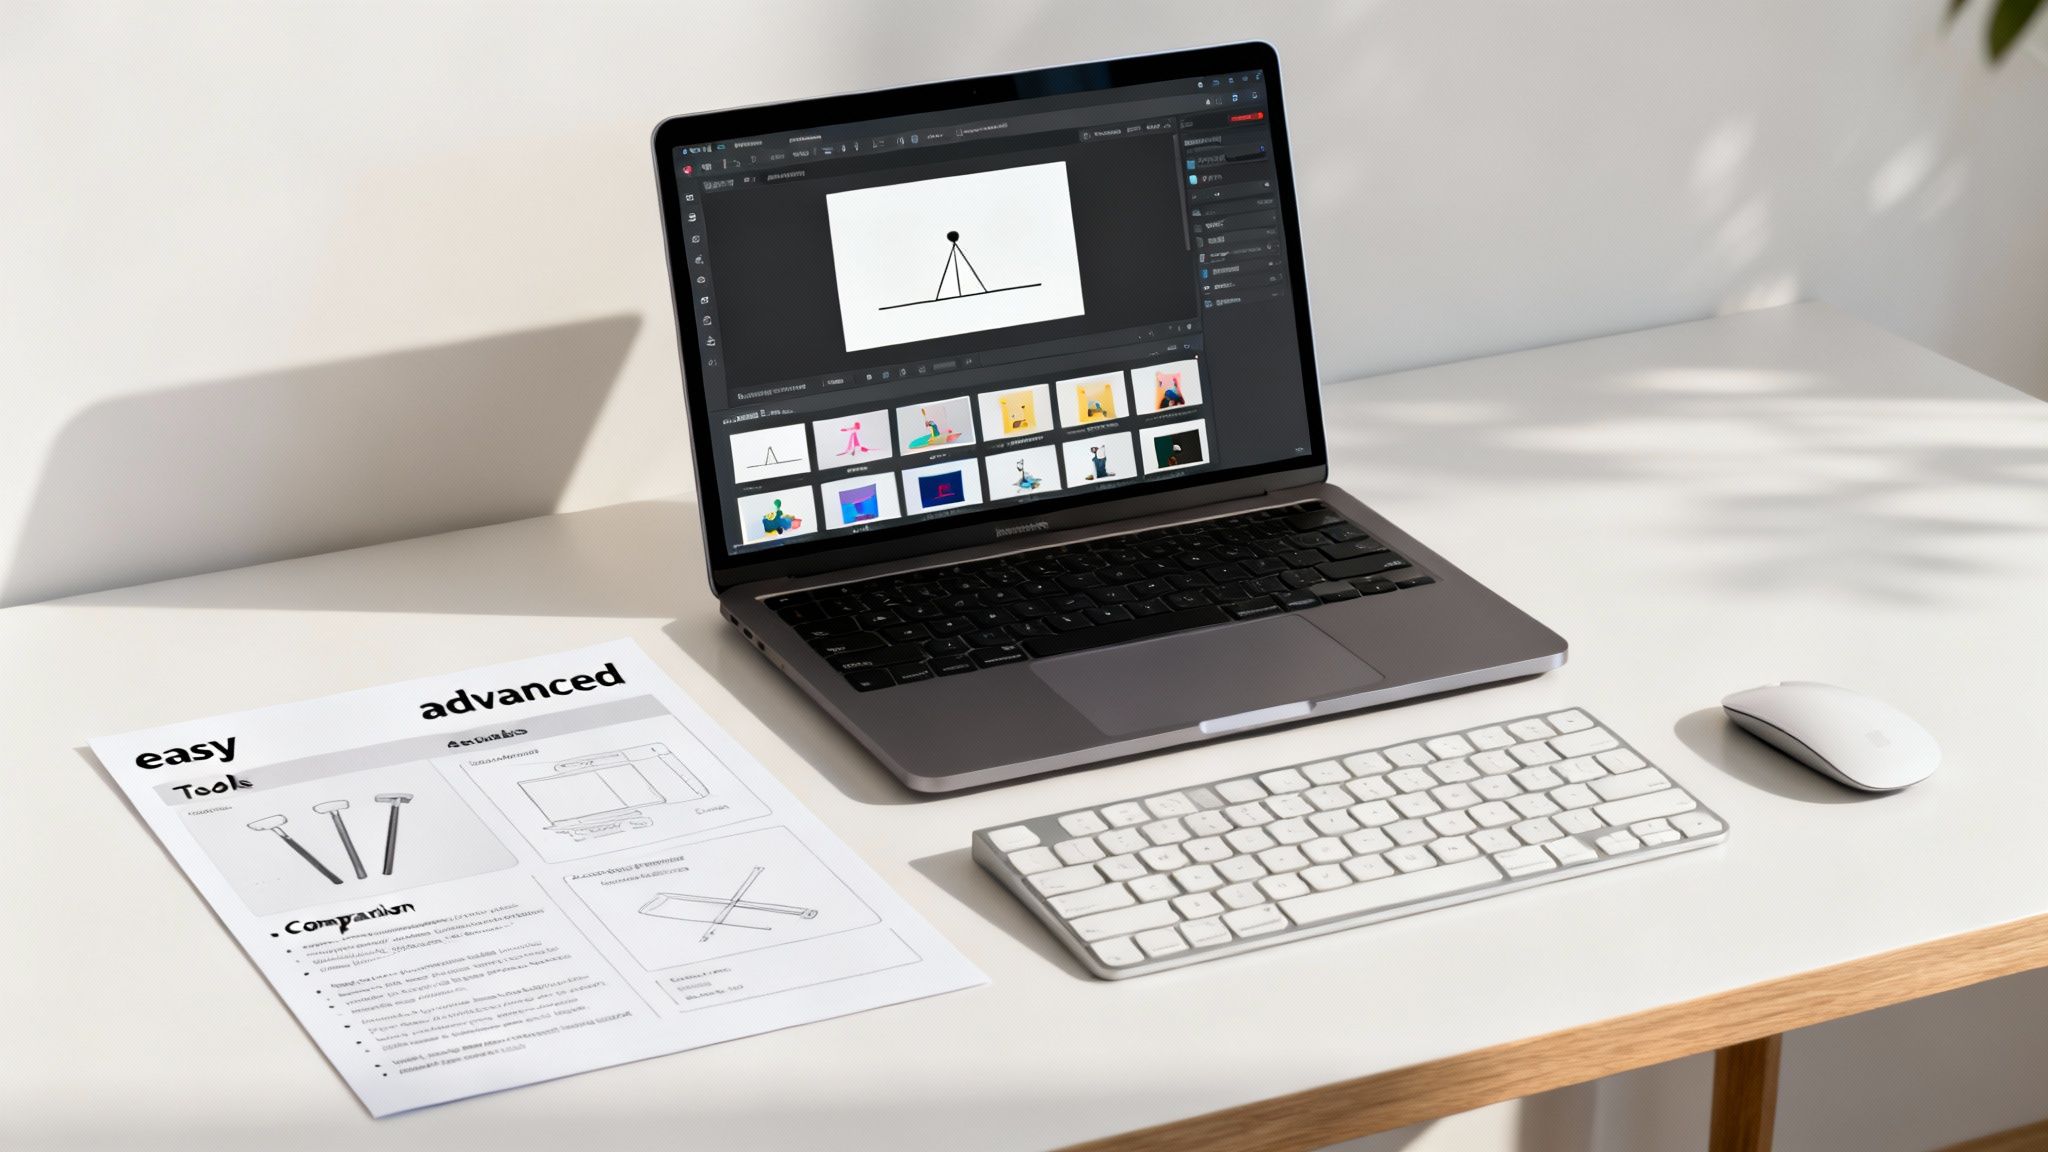
Choosing the Right Animation Tools
Okay, your storyboard is done. Now for the fun part: picking your digital toolkit. The software you choose will shape your entire workflow, so getting this right from the start is a massive time-saver. Don’t worry, you don’t need a Hollywood-level setup to create something that looks professional. In fact, jumping into overly complex tools too soon can be a huge roadblock.
For anyone just starting out, the name of the game is finding a sweet spot between powerful features and a gentle learning curve. This is where user-friendly, template-based platforms really shine. They do most of the technical heavy lifting, which frees you up to focus on the creative side of things—you know, learning how to actually make an animation.
User-Friendly Platforms Versus Industry Standards
The world of animation software is massive. On one end of the spectrum, you have industry giants like Adobe After Effects, which give you limitless control but come with a seriously steep learning curve. On the other end, you have accessible, browser-based tools designed for speed and simplicity.
Your choice really comes down to your project’s scope and your own skill level. Are you whipping up a quick social media video, or are you crafting a detailed product explainer? For most business and marketing needs, a straightforward tool is almost always the most efficient route.
Pro Tip: Don’t fall into the trap of “analysis paralysis.” Just pick a tool that feels approachable and start creating. The experience you gain from actually finishing a project—even a simple one—is way more valuable than spending weeks hunting for the “perfect” software.
If you want to dig a little deeper, you can explore resources on the best animation apps for beginners to see what might be a good fit.
Setting Up Your First Project in Wideo
Let’s walk through what it looks like to set up a project in a tool like Wideo. The whole process of making an animation has come a long way, and today’s pros often rely on heavy-duty software like Autodesk Maya or After Effects. But for our purposes, a tool like Wideo keeps things simple. Our online animation software is built to get you from idea to finished video, fast.
Here are the first practical steps you’ll take inside the editor:
- Choose the Right Aspect Ratio: Before you even think about adding assets, you need to set your video’s dimensions. A 16:9 ratio is the standard for platforms like YouTube. If you’re aiming for social media feeds on Instagram or TikTok, a square 1:1 or vertical 9:16 is a much better fit.
- Organize Your Workspace: Take a second to get familiar with the interface. You’ll typically see three main areas: the asset library (where you find characters, props, and backgrounds), the stage (your main canvas), and the timeline (where you control the timing of everything). Keeping your digital desk tidy from the get-go makes the whole process feel smoother and more intuitive.
Alright, you’ve done the prep work—your storyboard is mapped out and your project is ready to go. Now for the fun part: actually making things move. This is where your static scenes and characters get to come alive, filled with motion, personality, and perfect timing.
First things first, let’s set the stage. You’ll want to populate your scenes by pulling in characters, props, and backgrounds from Wideo’s asset library. It’s a simple drag-and-drop process. Think of yourself as a director arranging a set. You might place a character on the left, a desk in the middle, and a window in the background to give the scene some depth.
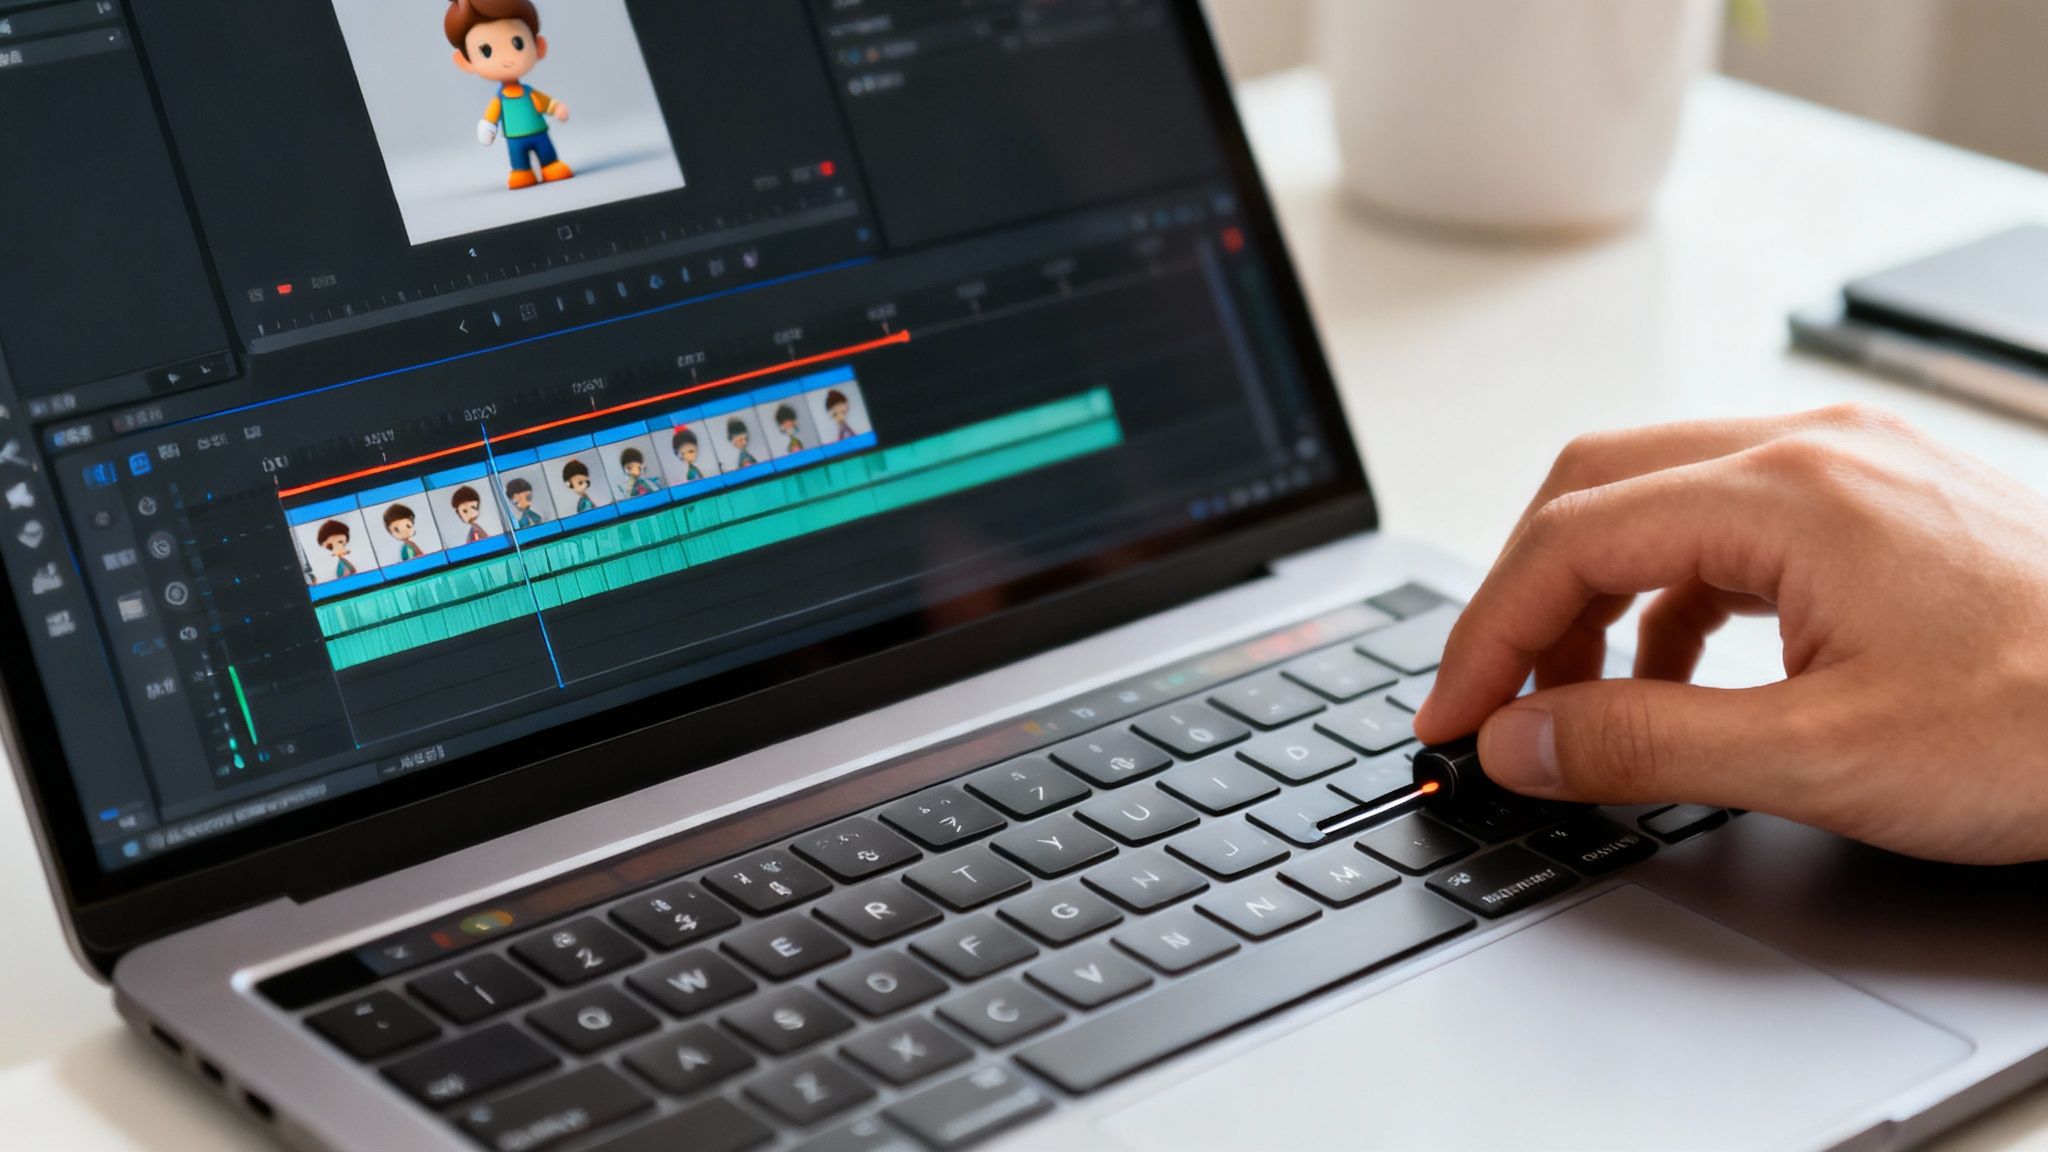
Mastering The Timeline And Keyframes
The timeline is where all the magic happens. It’s your command center for every single movement. Every object you add to a scene gets its own track on the timeline, giving you total control over when it appears, how it moves, and when it exits. All of this is orchestrated with keyframes, which are basically markers that define the start and end points of an action.
Let’s say you want a character to walk into the frame. Here’s how that would play out:
- Set the starting point: Place your character just off-screen at the very beginning of the scene on the timeline. This is your first keyframe.
- Set the ending point: Move the timeline cursor forward a couple of seconds. Now, drag the character to where you want them to end up. Wideo automatically drops a second keyframe there for you.
Wideo then does the heavy lifting, smoothly filling in all the frames between those two points to create a clean walking animation. Want the character to move faster? Just drag the keyframes closer together. For a slower, more dramatic entrance, pull them further apart. Easy.
A rookie mistake I see all the time is over-animating with too many keyframes right away. This almost always leads to jerky, unnatural movement. Start simple with just a beginning and an end point. You can always add more keyframes later to refine the path, like making a ball bounce in a realistic arc.
While Wideo makes 2D animation incredibly accessible, it’s worth noting how much the industry is evolving. The global 3D animation market, for example, was valued at around $22.67 billion and is projected to keep climbing, driven by the demand for stunning visual effects in media. If you’re curious about the more complex side of the industry, you can learn more about the 3D animation market from the experts at Grand View Research.
Applying Animation Effects And Transitions
Beyond just moving things from point A to point B, you can add a layer of polish with built-in effects. These are pre-set animations that can make elements pop, fade, or slide into view with just one click.
To give you a better idea, here’s a look at some common effects in Wideo and when you might use them.
Common Animation Effects in Wideo
| Effect Type | Description | Best Used For |
|---|---|---|
| Fade In/Out | Gradually makes an object appear or disappear. | Introducing text or creating a smooth, gentle entrance for an element without distracting the viewer. |
| Slide In/Out | Moves an object onto or off the screen from a specific direction. | Revealing bullet points one by one or transitioning props in a scene cleanly. |
| Bounce In | The object “bounces” a few times as it enters the scene. | Adding a fun, energetic, or playful feel to text, icons, or characters. Great for upbeat videos. |
| Pop | An object quickly scales up to its full size, creating a “pop” effect. | Drawing immediate attention to a key piece of information, like a discount or a call-to-action button. |
These little touches make a huge difference. Imagine a line of text that says, “Big Savings!” Just having it appear is fine, but applying a “Fade In” effect makes it feel more professional. A “Bounce In” effect, on the other hand, gives it a playful energy that can grab your audience’s attention. The trick is to always match the effect to the tone of your message.
The same goes for scene transitions. While a simple cut works, a “Slide Left” or “Dissolve” transition can help your video flow more smoothly from one idea to the next. It’s these small, thoughtful details that elevate a simple animation into a compelling, professional-looking video.
Using Sound to Enhance Your Story
An animation without sound is only telling half the story. The right audio doesn’t just fill silence; it gives your project a professional sheen and emotional weight that visuals alone can’t quite manage. Think of sound as another character in your scene—it sets the mood before a single thing even moves.
A cheerful, upbeat track can make an explainer video feel friendly and approachable. Swap that out for a subtle, low-tempo melody, and you instantly create a sense of importance or seriousness. Honestly, this is one of the biggest parts of learning how to make an animation that truly connects with an audience.
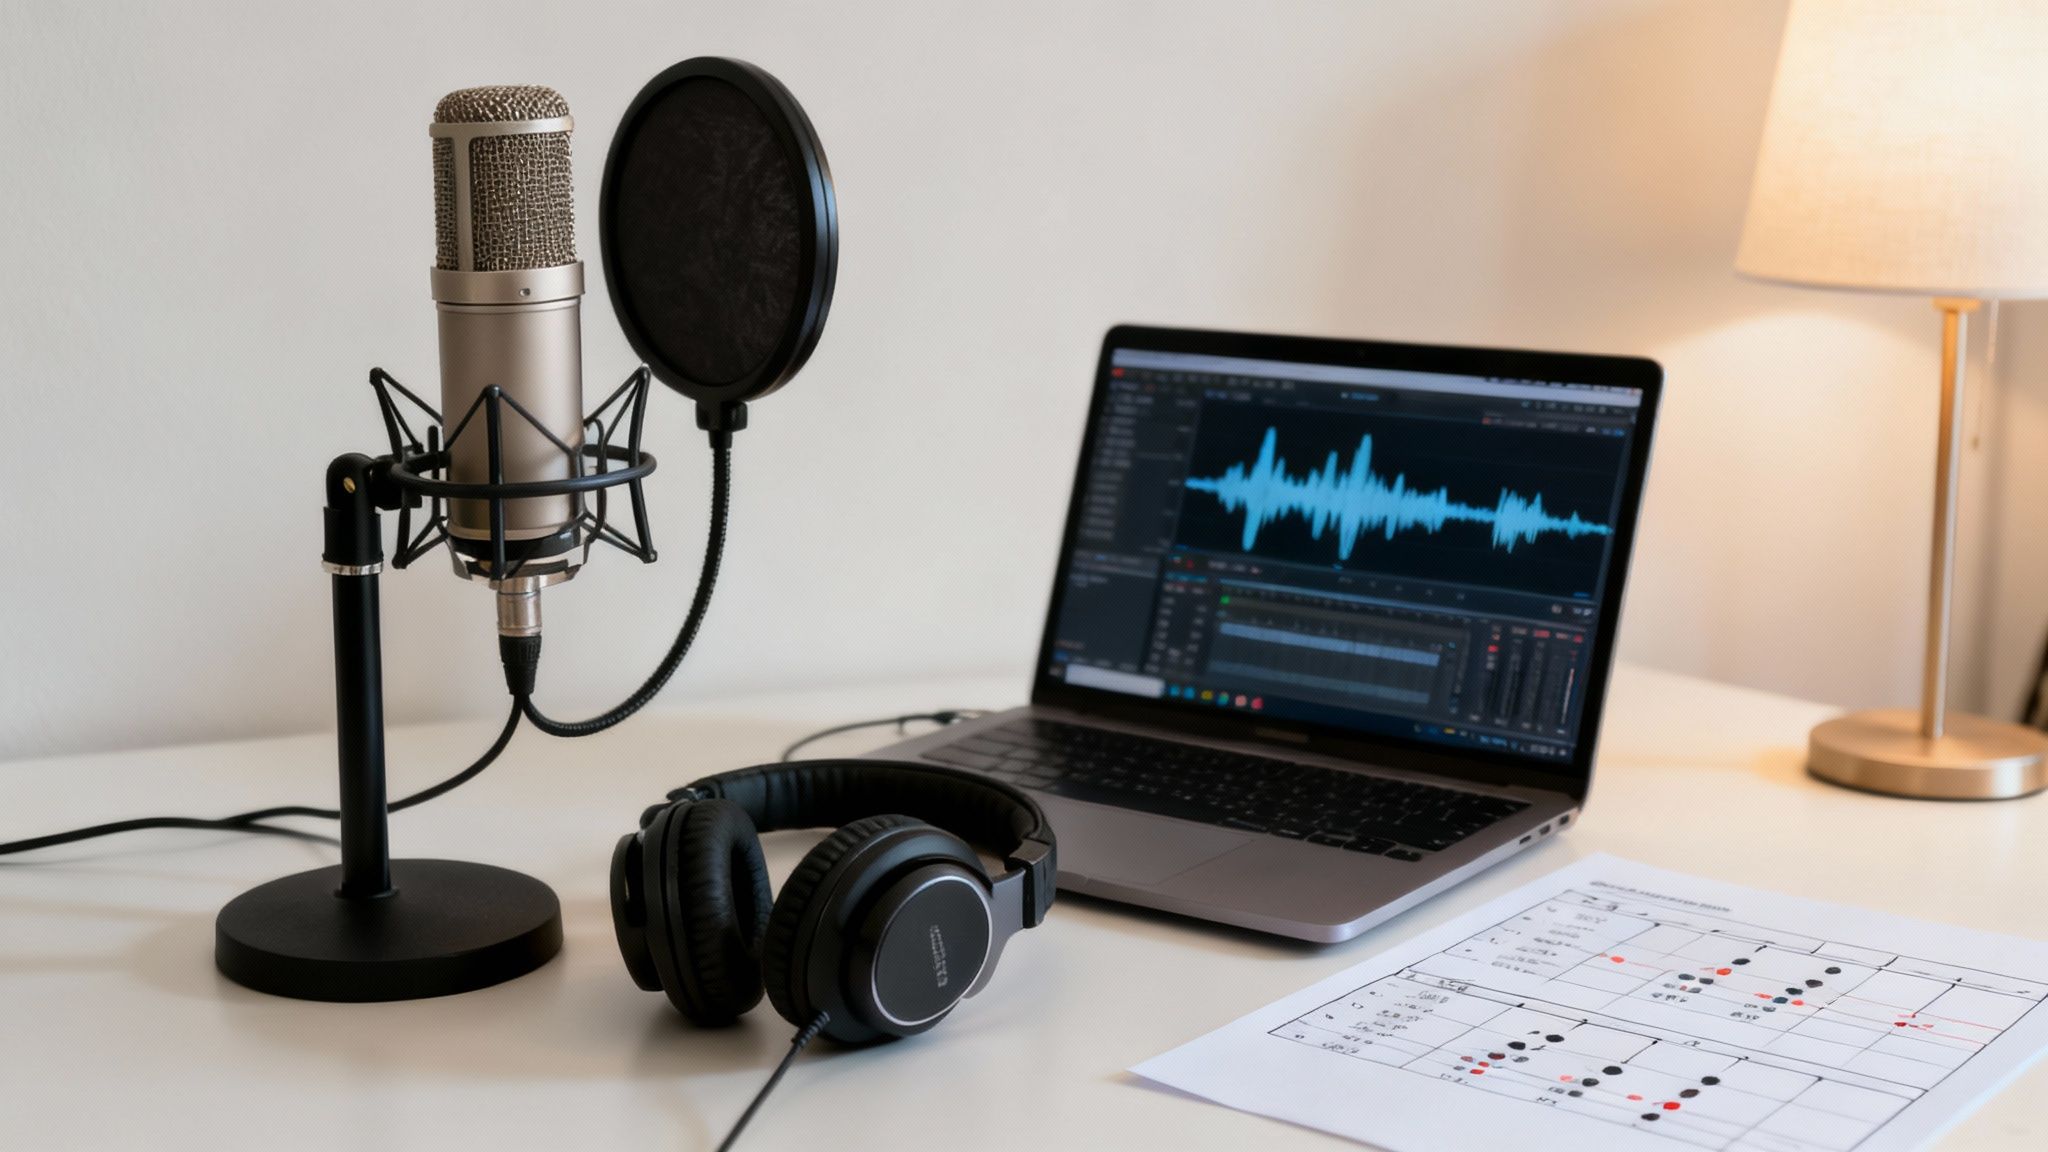
Sourcing and Importing Your Audio
First things first, you need to find the right audio. The easiest place to start is right inside Wideo, which has a built-in library of royalty-free music and sound effects. This is a lifesaver because it lets you skip the headache of navigating complex licensing issues while ensuring you have high-quality tracks.
If you’re adding a voiceover, clarity is everything. You don’t need a professional studio—a quiet room and a decent microphone are usually enough. Here’s a pro tip: try recording in a closet. All those clothes do a fantastic job of absorbing echo, giving you a much cleaner take.
Once your files are ready, getting them into Wideo is a simple drag-and-drop. You’ll see the audio tracks pop up in the timeline right below your visual elements, ready for you to position and trim.
Key Takeaway: Audio quality matters immensely. Even a great animation can be completely undermined by a voiceover with background noise or music that’s way too loud. Always do a final audio check with headphones to catch issues you might miss on speakers.
Balancing Your Audio Layers
Most animations are juggling at least three layers of sound at once:
- Voiceover (Narration): This carries your main message and should always be the clearest thing in the mix. Keep it front and center.
- Music: This track sets the overall tone and emotional backdrop. It’s there to support the narration, not fight with it.
- Sound Effects (SFX): These are the little sounds tied to on-screen actions, like a swoosh when text appears or a click when a button is pressed.
The real trick is getting the balance right. A good rule of thumb is to lower your music volume to about 20-30% whenever narration is playing. This technique, called ducking, makes sure your voiceover stays perfectly clear. Sound effects should be brief and punchy, just enough to punctuate an action without being distracting.
If you want to go deeper, our guide on how to use audio in video offers more advanced tips.
Understanding the psychological effects of sound can also give you a serious edge, helping you pick audio that resonates with viewers on a subconscious level. When you carefully layer these elements, you’re not just adding sound—you’re creating a rich, immersive soundscape that elevates your entire animation.
Polishing and Exporting Your Final Animation
You’ve animated your scenes, dropped in the audio, and now the finish line is in sight. It’s tempting to race ahead and just hit export, but hold on. This final polishing stage is where a good animation becomes a great one.
I always recommend taking a short break before this final review. Come back with fresh eyes and watch your entire animation from start to finish. You’ll be amazed at what you spot. Look for awkward pauses, jerky movements, or scene transitions that don’t feel quite right. Does an effect land perfectly with the sound? Does a character hang around on screen a moment too long?
Fixing these small timing issues is what gives your video a professional, seamless flow. Viewers won’t consciously notice these tweaks, but they’ll absolutely feel it if the polish is missing.
Getting Your Export Settings Right
Once you’re happy with every last detail, it’s time to get your video out into the world. Exporting in Wideo is straightforward, but the settings you pick have a big impact on the final quality and file size. The most important question to ask yourself is: where will this animation live? That one answer will guide all your decisions.
Here are the key settings you’ll need to dial in:
- Video Format: For just about every use case you can imagine, MP4 is your best bet. It hits that sweet spot of high quality and manageable file size, and it plays nicely with pretty much every browser, social platform, and device out there.
- Resolution: This is all about clarity. HD (1280×720) is a solid choice for general web use and keeps file sizes down. But if you want that super-crisp look on bigger screens—think YouTube or a conference presentation—then Full HD (1920×1080) is the standard you should aim for.
- Quality/Compression: You’ll usually see a choice between high, medium, or low quality. More quality means a bigger file. My rule of thumb is to always go with the highest quality for a primary platform like YouTube. If you need a version for an email or a quick social post, medium is often more practical.
Here’s a real-world example: Let’s say you just finished a one-minute explainer video. For your company’s YouTube channel, you’d export it as a Full HD (1080p) MP4 at the highest quality setting to make sure it looks sharp. But for sharing it on X (formerly Twitter), you might do a second export at 720p so it loads instantly for people scrolling on their phones.
Nailing these settings from the start saves you the headache of re-rendering later. When you match your export specs to your intended platform, you’re making sure your animation looks exactly the way you envisioned it, everywhere it’s seen.
Common Questions About Making Animations
Even after you’ve nailed down the workflow, a few practical questions always pop up, especially when you’re just starting out. Getting a handle on these early can help you manage your expectations and set you up for success. Let’s tackle some of the most common hurdles new animators face.
How Long Does a 1-Minute Animation Take?
This is the big one, and the honest answer is: it really depends. You could knock out a simple one-minute animated video using templates and pre-made assets in a single afternoon—maybe 3-5 hours. On the flip side, a fully custom one-minute animation with unique characters and complex scenes could easily take 40-60 hours, if not more.
A few key factors will always shape your timeline:
- Complexity: A video with simple text overlays and icons is worlds away from one with detailed character animation and multiple scene changes. The first is much, much faster.
- Asset Creation: Are you grabbing from a library of ready-made assets, or are you creating everything from scratch? Custom design work adds a significant chunk of time.
- Skill Level: An experienced animator just works faster. They know the tools, the shortcuts, and the principles. A beginner is still learning the ropes.
My advice? For your very first project, keep it simple. Seriously. Focus on getting a short, polished video done rather than attempting a sprawling masterpiece. This helps you build momentum and learn the process without getting totally overwhelmed.
Can I Make an Animation for Free?
Absolutely. Plenty of powerful tools out there offer free plans that are more than capable of producing high-quality animations. Platforms like Wideo provide free tiers that give you access to core features, templates, and asset libraries, which is perfect for learning the ropes without any financial commitment.
Of course, “free” usually comes with a few strings attached. These might include:
- Watermarks on your final video.
- Limited access to premium templates or assets.
- Lower export resolutions.
Even with these trade-offs, a free tool is an excellent way to practice your skills and get your first few projects under your belt. Once you feel more confident, you can decide if upgrading to a paid plan makes sense for your goals.
What Is the Easiest Animation Style to Learn?
When you’re starting out, you want a style that delivers great results without a ridiculously steep learning curve. For most beginners, 2D motion graphics is the most approachable style by a long shot. This usually involves animating text, shapes, and icons.
It’s a fantastic starting point because it teaches you the fundamentals—like timing and movement on a timeline—without the added complexity of character rigging or 3D modeling. You can create clean, professional-looking explainer videos or social media clips relatively quickly.
My Personal Tip: Don’t get bogged down trying to find the “perfect” style right away. Just start with motion graphics. Get comfortable with the software, and then you can begin exploring other styles like whiteboard animation or simple character animation as your confidence grows. The most important thing is to just start making things.
Ready to stop wondering and start creating? With Wideo, you have all the tools you need to bring your ideas to life. Sign up for free and discover how easy it is to make your first professional animation today.